
- Previous: Session 5 – The Flickering Eye
- Next: Session 7 – A Brother’s Calling
- First: Session 1 – The Unbroken Resolve and All Those Who Sail Therein
+++++
Last time on the Orthesian Herald, our band of brave Explorers had fought off hordes of ravening Orks on the dead alien world of Gangue Prime to try and find the next piece of the map to the fabled treasure ship, the Righteous remit.

“As you enter the monolith’s interior chamber you are overcome by its grandeur and unsettling alien construction. It is like standing in the centre of a sea of light, and you are unable to tell where the floor, roof or walls begin and end. Most disconcerting is the air seems alive with images spinning and dancing around your heads. To read the information you must spend time focusing on the swirling images to make any sense of them.”
(This was a Willpower test or suffer D10 insanity points. They gained the information either way.)
“As you gaze into the mirror the images begin to merge and spin until you are engulfed by an ocean of stars and planets. Worlds slip through your fingers and the icy void brushes your skin as you peer like a celestial god across the whole of Gangue.
“With a little effort you realise you can move events forward and backward in time, watching the dying star slowly flare back to life and the worlds once more teem with activity. Finally, you find what you are looking for: the arrival of the Rightful Remit.
“Tumbling from a rent in the void you mark its passage until it clashes into a cluster of asteroids out among the Shard Halo. Moving time back to the present you can see it still; frozen and waiting beneath the ice.
“You know instinctively that you have the exact location of the Rightful Remit.”
The chase
Our Astropath, Gil, was the one ‘volunteered’ for the mission of reading the Star Chamber. There seemed to be some misunderstanding that because he was the psyker, he would naturally have the highest Willpower in the team.
Regardless, only a handful of insanity points later, he had the location of the treasure ship beamed into his mind from the alien construct.
Feeling quite good about proceedings, he suddenly feels a sharp stabbing pain in his head, and the sensation of someone going through his memories and ransacking it for loose change. At the entrance of the chamber he can see the reason why – Lady Ash, the psyker under the employ of Hadarak Fel, had waited until Gil was distracted and forced herself into his mind to steal the location of the Righteous Remit.
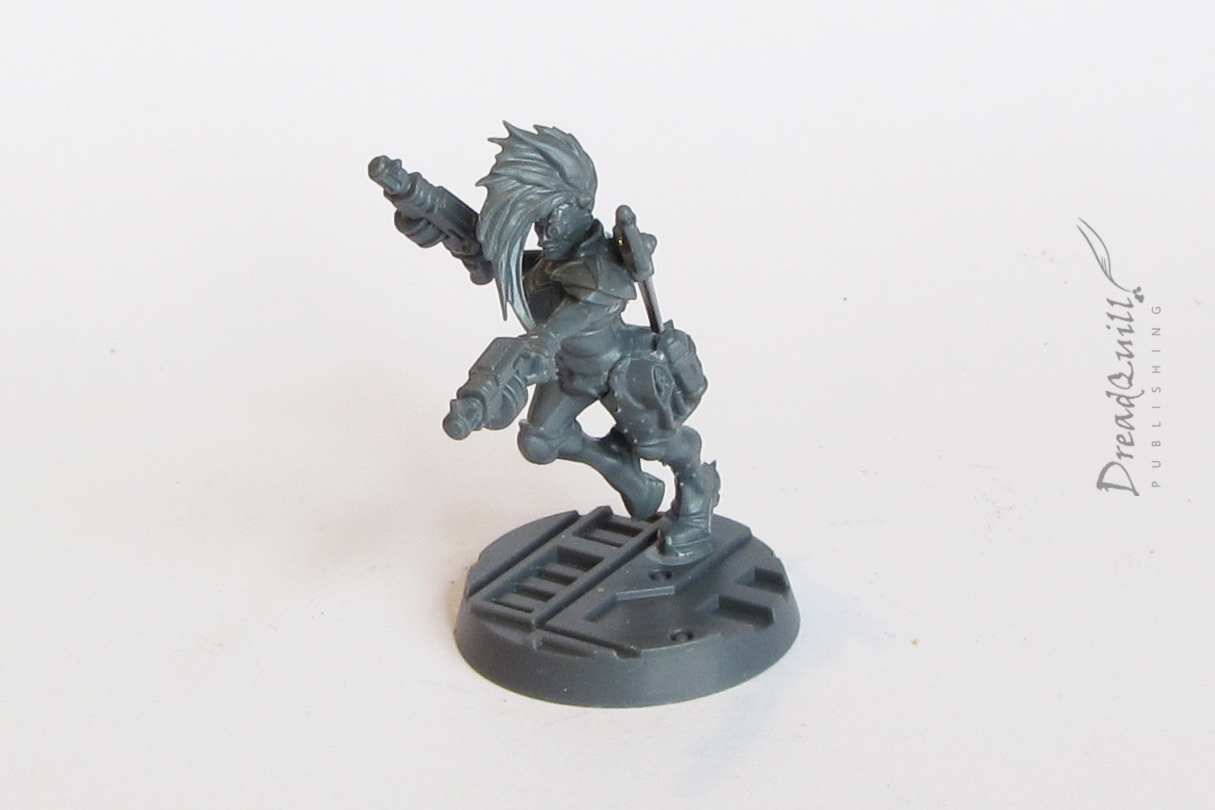
The chase was on! She fled as soon as she was identified, and the players heard the throaty roar of the stolen attack bike. The party was devastated – not only had she stolen the plot macguffin, but she’d stolen back their brand new bike after they stole it fair and square. Everything seemed lost, until the Explorator pointed out that he can sprint over 70 metres in a turn.
The chase was back on!
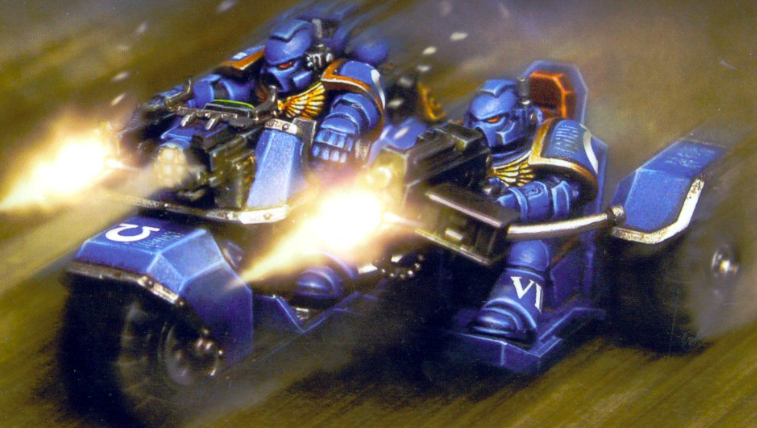
What followed was a foot/bike chase as the scampering spider-limbed Techpriest scampered after the rogue psyker as she gunned the attack bike across the Gangue dust bowl.
He caught up, punching his limbs through the back of the bike’s wheel well (much to Lady Ash’s surprise), rupturing oil lines and causing flying sparks from the grinding metal. They exchanged a terse, high-speed close-range gun battle that ultimately lead to Lady Ash using her powers to Compel the Explorator off the back of the bike, but not before the bike engulfs in flames and careens out of control, eventually coming to rest at the edge of the alien maze.
When the Explorator finally pulled himself back up and investigated the burning wreckage of the bike, there was no salvageable parts and no signs of Lady Ash. A bitter pill to swallow.
The beast with the broken back
Returning to the ship, they consoled themselves with the knowledge that they had the location – a tumble of asteroids in the Shard Halo of the Gangue system – and with a good wind could still arrive before Fel did. They set off, only one day’s travel with some good rolls from the Voidmaster.

Scattered across billions of km of space, the Shard Halo is Gangue’s glittering crown, a seemingly endless stretch of frozen rock and scattered vapour clouds.
You close within a few thousand kilometres of the icy asteroid where the Rightful Remit rests, and can scan its surface to identify the twisted wreck trapped inside. Drawing close, you see that the treasure ship is not alone and dozens of other craft seem to have been drawn here, creating an icy ship graveyard.
The team pull close to the icy asteroid and set off in an Arvus Lighter along with three of Lyoness’ Covenant, lead by their leader Alyss.
Now that you are closer, you can see the faded majesty of the ancient treasure ship. Once an impressive vessel, it has now fallen to ruin; its hull is stripped of ornamentation and its length is riddled with holes and scars.
Most terrible of all the damage is a mighty rent halfway down its hull where the ship has almost been broken in two. Taller than a hab block, the rend has exposed dozens of decks and looks like a likely way in.
The ship’s interior is somehow still powered, with powerful energy seals blocking off the lower decks of the vessel. The Explorator does some technomagic and figures out the power is being routed through the bridge – if they head there, they can shut it off.
With great caution, our band of heroes make their way to the bridge, picking their way through twisted corridors and broken arterials. They were becoming suspicious as to how easy it was so far…
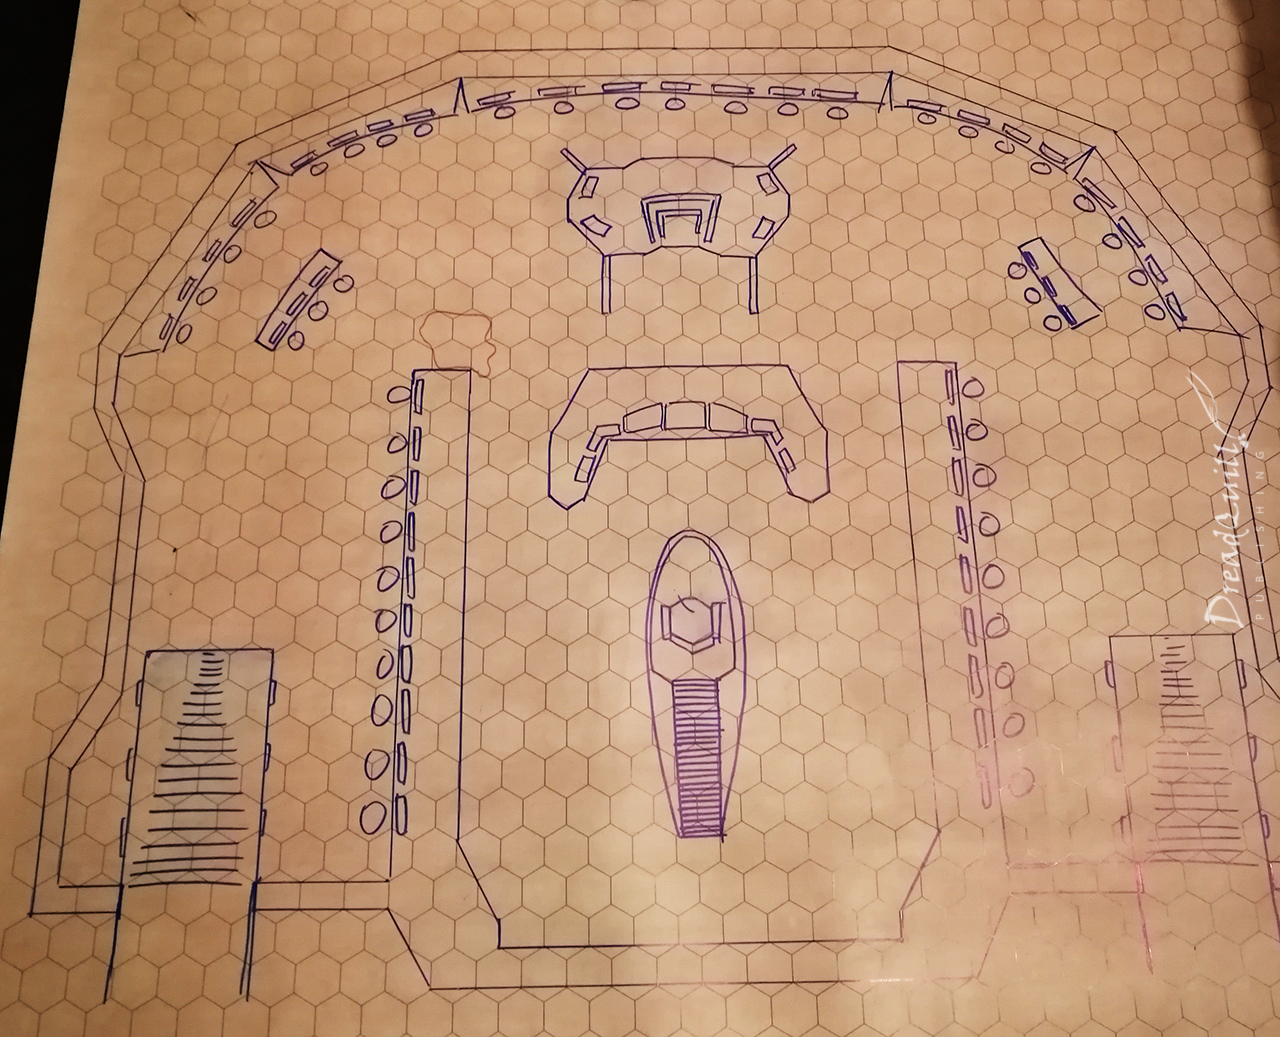
The bridge of the rightful remit
The bridge is faintly lit with the pale radiance of Gangue’s star through the vista-panels of its observation gantry.
Under this cold light, you see a long semicircular chamber with the Lord-Captain’s throne at the far end. Down each side of the chamber are servitor pits, cold and dark and packed with ancient part-mechanical corpses.
The other two structures of note are a Navigator’s well rising from the centre of the chamber and the cogitator core vestibule just below the throne.
Everything is covered in a thick layer of glittering dust, smoothing lines and hiding the human remains that lay strewn about the deck.
The Explorator sets out examining the core cogitator vestibule, sticking his MIU where into a rusted socket and getting an unhealthy dose of insanity. Didn’t mamma ever tell you about sticking your MIU where it didn’t belong? The Captain explores the Navigator’s pulpit and finds an extra crispy Navigator with an identifying medallion – Daam’Samarra.
Zilla suddenly remembers he carries a backpack-sized voxcaster round with him wherever he goes, as it suddenly chirps into life with a Bridge Officer from the Resolve informing him that they’d picked up signs of an unidentified small craft making its way towards the Rightful Remit. They had sent a lander of Orthesian armsmen down to reinforce, hold fast!
It wasn’t coming fast enough – Zilla catches gunfire on the vox, the armsmen were locked in battle in the corpse of the old treasure ship with unknown assailants.
The Captain was anxious about the well-being of his men and heads up one of the exit ramps to the bridge. The heavy blast doors open, finding himself coming face to face with…
Roll initiative!
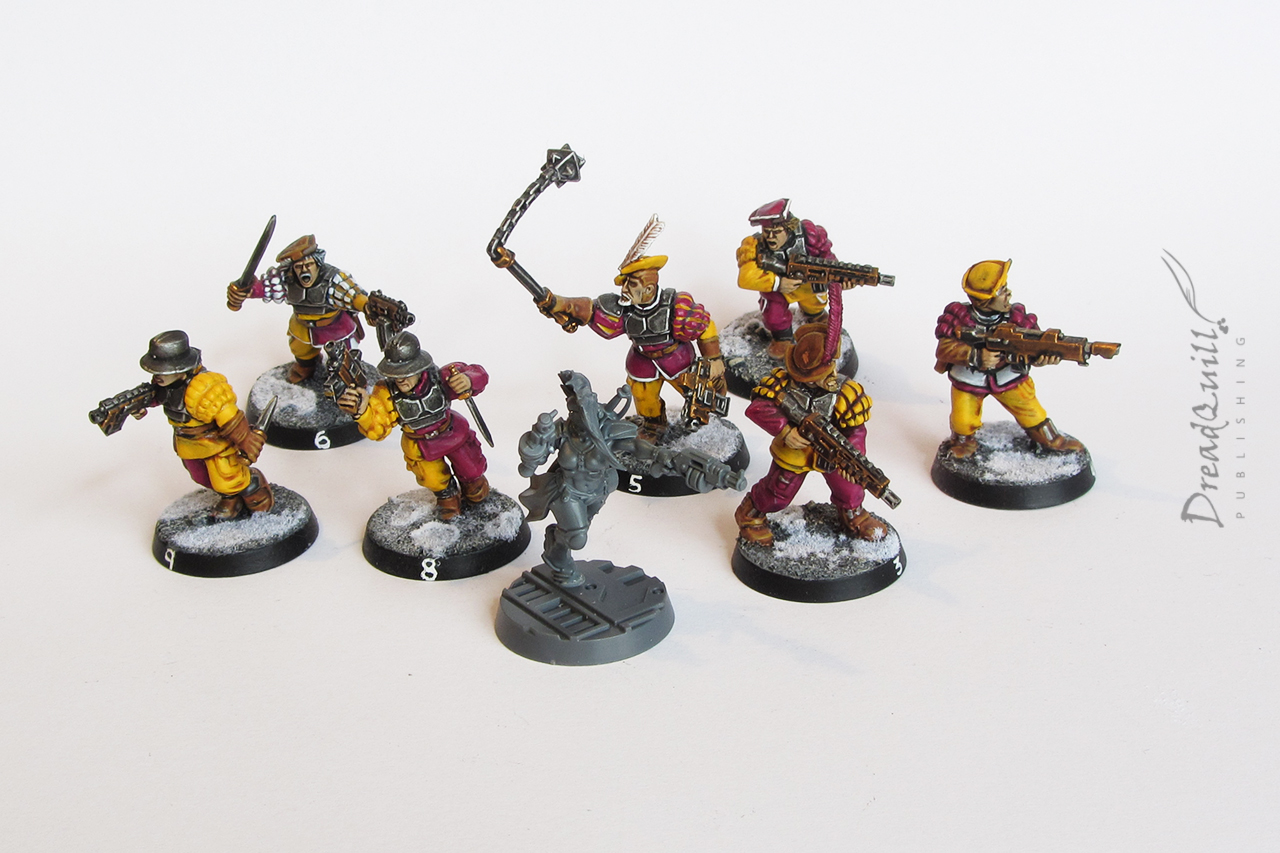
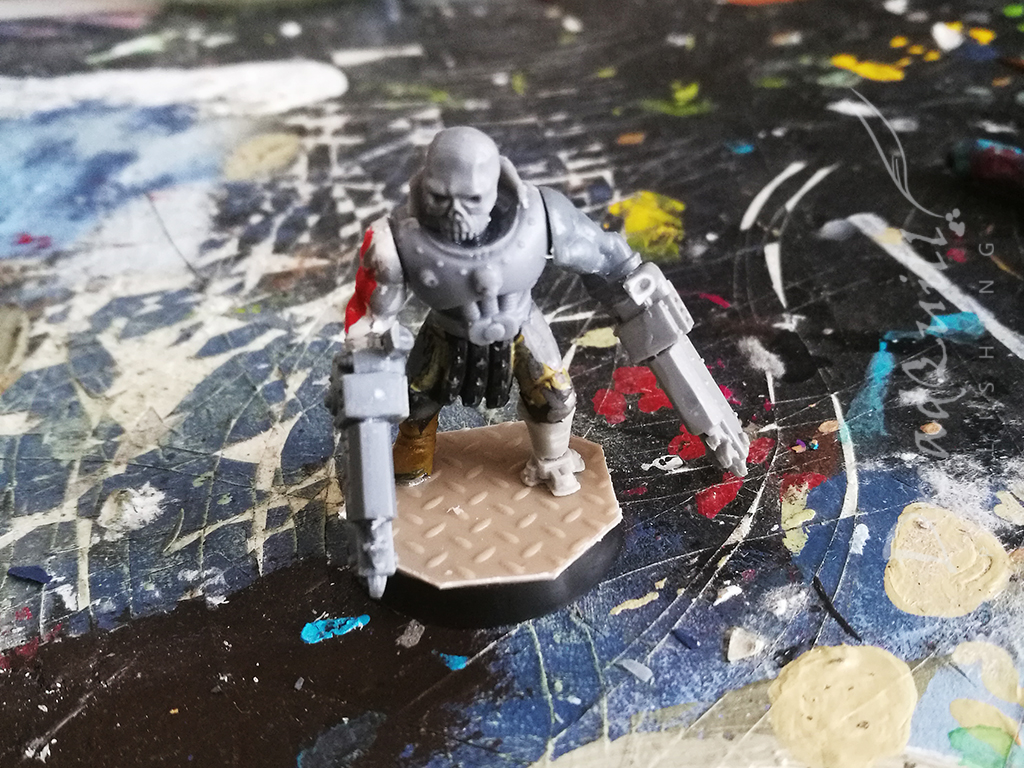
Fel Dynasty armsmen come pouring in through both doors onto the bridge, spearheaded by the rogue psyker encountered in Port Impetus – Lady Ash. She is joined by an angry servitor with chainblades for arms.
With the Explorator up first, his first action is to immediately shut one of the two doors the armsmen had come in through, stranding half of the armsmen on the wrong side of the door and leaving the combat servitor all by himself on one side of the map.
This action would turn out to be pretty decisive later on, as it helped the players take out the invading force piecemeal rather than take them all on at once.
Unfortunately it didn’t stop anyone making ill-calculated decisions. While the rest of the Crew were engaging the armsmen coming in through the open door on the right, the Explorator moves to engage the combat servitor on the left. He blasts him with his hellgun as a free action and charges into combat.
Unfortunately, the ‘combat’ part of ‘combat servitor’ wasn’t just a meaningless title. After a bit of playful banter, the servitor carves the Explorator a set of new MIU sockets. Explorator Freeman hits the deck with -4 wounds and an entertaining amount of blood on the floor (how can a guy with no legs have so much blood(?!).
By now the first set of armsmen had been dealt with by the Captain, Astropath Gil and Lyoness and her Covenant. They swing round to deal with the servitor threat and the armsmen who had finally forced their way onto the bridge. They were also joined by Lady Ash, who had unfortunately got caught on the wrong side of the door and missed most of the fight too.
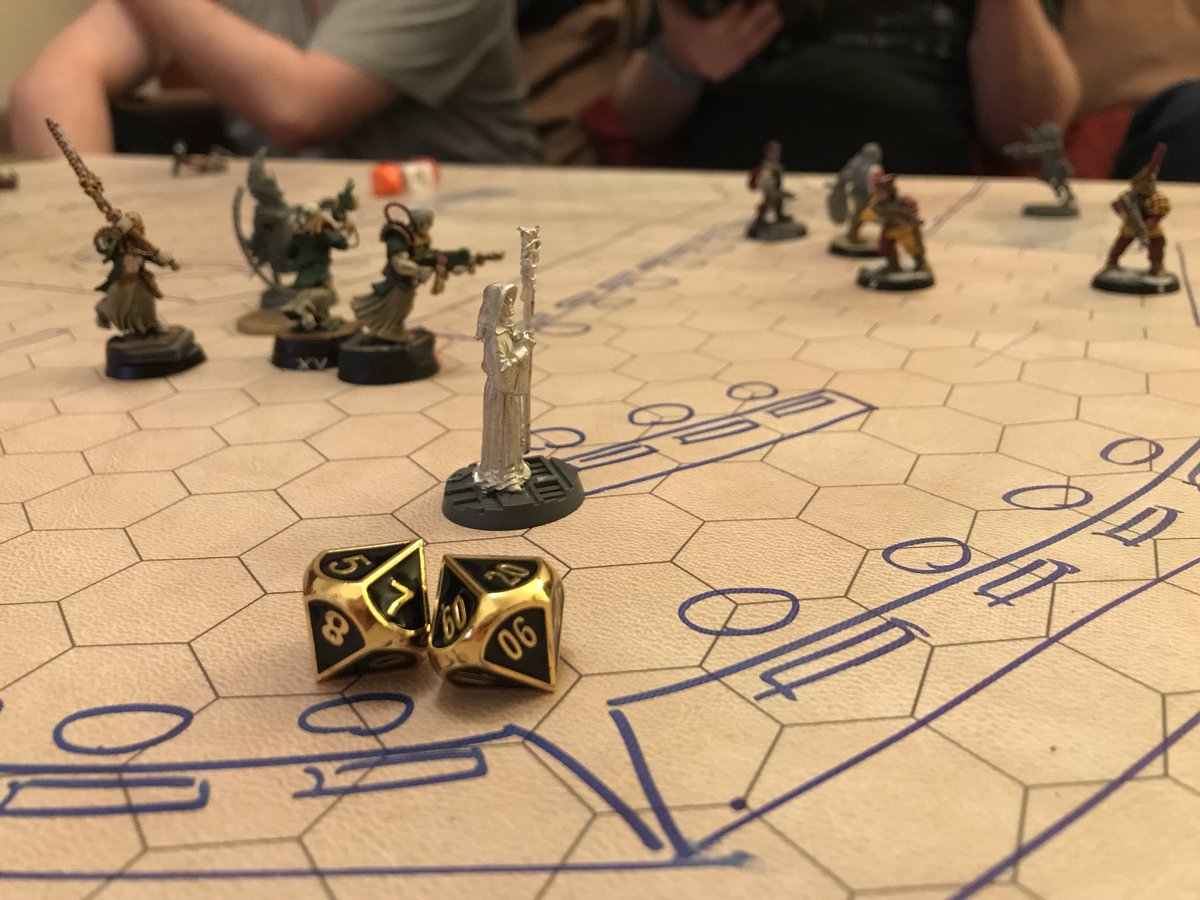
As they burst in, Voidmaster Zilla had been working his way into an advantageous position, trying to use the height advantage from the raised bridge to grenade the incoming armsmen. Lady Ash catches wind of this (damned telepaths! It’s like they can read minds or something) and Compels him to throw himself from the bridge.
Another helpful lesson in why Willpower shouldn’t be a dump stat.
With the Explorator taking a power nap and the Captain’s displacer field causing him grief, it was left to Gil and Lyoness to mop up what was remaining. Lady Ash read the room and figured it was time to dip, so she ordered the servitor to cover her retreat. With great glee it clanked and thumped all the way up to the Astropath, and my notes explicitly read “and fucks up Gil”.
The servitor is eventually carved apart by psychotic religious women with chainswords and everyone breathes a sigh of relief. The word from the friendly armsmen on board – the Fel Dynasty had retreated and left the spoils to the players.
As the corpse-counters began their tallies and the players were dissecting the fight that happened, it was time to see what was in the holds of the treasure ship.
sick lewt
The holds are filled with the ancient wealth of plundered worlds that will plump your Dynasty coffers for quite some time. In addition, the lowest levels of the ship contain sealed vaults with impossibly valuable treasures, the likes of which you have never laid eyes on before.
This would be my first opportunity to use the rather splendid Treasure Generator from the Stars of Inequity book. Each player would get to roll a piece of loot, and then afterwards we could discuss who gets what.
Once the players had rolled their loot, I went away and fluffed up the loot a bit more, so rather than ‘chainsword +1’ it would feel more like a unique item.
Detailed here are all the pieces of loot the players received – the rolled results are written in italics, followed by a bit of background fluff, and finally the game effects in bullet points.
All in all an exciting, sight-seeing, bloody first adventure for our heroic crew! Let’s see where their whims take them next…
Archeotech Lunde-pattern plasma drive
(Ship component, plasma drive, ancient miracle, imposing, good quality, unpredictable, trusty)
Wrested from the broken remains of the Rightful Remit, the Lunde-pattern drive is an ancient and overwhelming testament to ages long past. In the late 31st Millennium, Plasmasmith Elicio Lunde was at the height of his craft, dedicating his many centuries of service to the production of high-end plasma drives for escort ships.
His plasma drives burned with an intensity far greater than normal for their size, modulating their plasma wash into a variety of vibrant hues of visible and invisible light. Exhaust conduits spaced evenly across the outer hull reduce internal space, and can be harmonised to vent in impressive warning displays.
- This is a Good Quality plasma drive (same as is currently fitted) but takes up -1 Space
- It provides a +10 to Command and Intimidate checks made on board the ship
- Once per game, it can provide a +10 bonus to anything involving it
- When it passes, it gains an extra Degree of Success. When it fails, it gains two extra Degrees of Failure
- Any attempts to repair it must pass a Forbidden Lore (Archeotech) test first
Demiurg carapace armour
(armour, carapace chestplate, alien techn, remnant of the endless, poor quality, dogged)
The Demiurg are a race of short, semi-humanoid traders and miners who maintain cordial relations with several xeno cultures. They are known to avoid Imperial space, making them a very uncommon sight, but the increased sightings of Demiurg artifacts in the Nomad Stars might signal a resurgence.
They have a high level of ionic-based technology, which it is understood they gifted to the Tau Empire – their close allies. Their name means ‘artisan’ in ancient Terran, and despite this armour being clearly designed for a shorter and broader torso, does not stop it from being exceptionally effective.
- 6 Armour to the body, 7 kg
- Wearer suffers -10 to all Agility tests
- Whenever the wearer is hit with a Melee attack, the attacker must pass an Agility test or suffer 1d5+2 E damage with the Shocking trait
- One way or another, it always seems to find its way back into its owners hands
- Any attempts to repair it must pass a Forbidden Lore (Xenos) test first
Nomad-pattern Razorchain
(Melee weapon, razorchain, ancient miracle, indestructible, vanishing, zealous)
A lightweight sword composed of a number of interlocking blades joined by a cable. At a moment’s notice, these blades can be separated, turning a sword into a many-bladed lash. In the hands of a skilled wielder, these are almost impossible to parry and can be woven past almost any defence.
Despite bearing irrefutable evidence of human construction, the Nomad-pattern Razorchain bears a striking resemblance to a choice weapon of Dark Eldar reavers. These similarities are hand-waved either as coincidence or adoption of superior human technology by feeble xenos minds. This particular model is wrought from a strange metal alloy that never seems to lose its edge and seems impossible to mark or cut with any device.
- Melee, 5m range, 1d5+4 R damage, 4 Penetration, Balanced (+10 to parry with), Flexible (cannot be parried), 2kg
- Cannot be destroyed by natural means
- It gains a +10 to Concealment checks to hide it about your person
- You can never have a bonus greater than +30 or a penalty worse than -30 to use this weapon
House Kornallis Navis Prima Maxima
(gear, navis primer, ancient miracle, compact, unpredictable, dogged, house rule: +10 to Nav Stellar)
Navis Prima are perhaps some of the most valuable items an Explorer can possess, as they outline safe routes through the warp, or at least as safe as warp travel can get.
This is a rare example of an already extraordinary artifact – created by the Magisterial Navigator House of Kornallis, who have been around since the dawn of the Imperium of Man, and are said to have stood at the sides of those brave explorers who first ventured into the Nomad Stars. This small, unassuming leather book, marked only with a humble embossing of a stylised House Kornelius crest, can slip inside a pocket or kept out of sight.
When opened, an interactive holo-display is projected in front of the reader, affording them complex – if cryptic – knowledge of likely warp routes and stellar phenomena in the Nomad Stars.
- It provides a +10 to all Navigate (Stellar) tests
- Search tests to find this item on your person are at -30
- During Step 1: Determine Duration of Passage in warp travel, you may re-roll the Route Stability before calculating.
- If using the Navis Prima for Navigate (Stellar) tests, or to re-roll a Route Stability during warp travel, increase any Degrees of Success by 1, but increase any Degrees of Failure by 2.
- One way or another, it always seems to find its way back into its owners hands
Any attempts to repair it must pass a Forbidden Lore (Archeotech) test first
The Widower
(Melee weapon, chain axe, cursed, deceitful, resplendent)
This chain axe is wrought of a dark iron, that despite bearing the hallmarks of human construction, still inspires a sense of dread when looked upon. Preliminary tests suggest that the iron used in construction been extracted from human haemoglobin, and that when the teeth of the weapon are in motion, look like the dark rays of a foreboding black sun.
Curiouser still is a hidden compartment in the axe head, that when activated from a rune on the hilt, fires a high-calibre shell straight and true at an unsuspecting target. These rounds are no different from common hand cannon ammunition, but something inside the weapon synthesizes a powerful venom to coat the ammunition before firing – something that is probably worth not looking too much into.
- Melee, 1d10+2 R damage, 2 Penetration, Tearing
- It can make a ranged attack as if it were a pistol – 30m range, S/-/-, 1d10+4 I damage, 4 Penetration, Clip 1, Full reload, Toxic
It provides a +5 to all Charm and Intimidate checks, but Search tests to find this item are at +30
Reclamation Crusade Sallett helm
(Armour, reinforced helm, finely wrought, best craftsmanship, potent, dogged)
Despite it’s archaic, clunky appearance, this ancient helm is light as incredibly light and wearing it is like donning a second skin. It is finely etched with murals of the Troubadous Reclamation in the 32nd Century, when the Saint-Admiral Troubadous (a prominent disciple of Saint Drusus) swept through the southern stars of the sector, bringing primitive human tribes to heel and re-forging the Imperium under a single banner. After seeing the Onus region begin to swell with settlers and piety, he cast his gaze southwards to the Nomad Stars, a time before the Great Warp Storms sealed off the throat.
Saint Troubadous went missing somewhere in the Nomad Stars, and thousands of official funerals were held in his honour, but not before carving a bloody path through heretic and xenos, seeding countless worlds with humans and the Imperial Creed. The capriciousness of the warp caught up with his ambition, however, and the passage through the Great Warp Storms (now known as the Throat) sealed up, and did not re-open for another 8 millennia.
Mankind is left to only speculate what happened to the Saint-Admiral, his final crusade, or the worlds he left behind…
- 8 Head armour, 4.5kg
- One way or another, it always seems to find its way back into its owners hands
+++++++
Off to a great start with these adventures. Hope to see more in the future.
They’re out every week, and our group is 3 or 4 sessions ahead of the writeups so if we can’t make a week or two they should still be pretty regular!
Loving this adventure. I really miss our dark heresy group games. I live miles from any civilization so have no gaming buddies down here in the southern tip of Oz, sadly. I am therefore loving gaming vicariously through your group. I have Rogue Trader and prepared a trader group from the Gormenghast (a planet sized ship). The young Earl was the trader on his ship the Steerpike surrounded by his trusty crew he was to explore the Halo Stars and beyond….sadly I left the city and moved down to the far south and have not managed to find any gamers down here. Enjoying your exploits and great to see someone still playing Inquisitor in 54mm too. I have around 200 54mm miniatures for Inquisitor and loved the background and idea of creating an ongoing story arc. Anyway thanks and I will continue to read your site and possibly comment on occassion.
Thank you very much, you’re very kind! I had stopped updating this adventure since Lockdown 1 happened and we stopped playing with our regular group. Hopefully I can find the energy to continue on with it, I have a lot of material to work with!